


The Nursery #3 - Baby Changer
- Mar 10, 2016
- 2 min read

The next project is the changing table. I found it at a second hand website for less than one third of the price at stores. It was in great shape, but it was light blue, and though boys and girls love blue, I thought it was nice to add some personality and a unique touch.

I started by picking the handles. I was thinking about something like crystal, like in the picture:

But a friend of mine suggested this type of classic bronze handles, like there were at my grandma's house when I was little. I have to admit at first I had my doubts but then I agreed it could look really cool. The price was about two dollars each.

I just needed to paint them black.


Re-positioning the handles was not a big deal. With one of those little electric screwdrivers at the drill position, is a very easy task. I also re-positioned the handles at the three lower drawers so they are aligned with the superior ones. (didn't like them in the original layout).


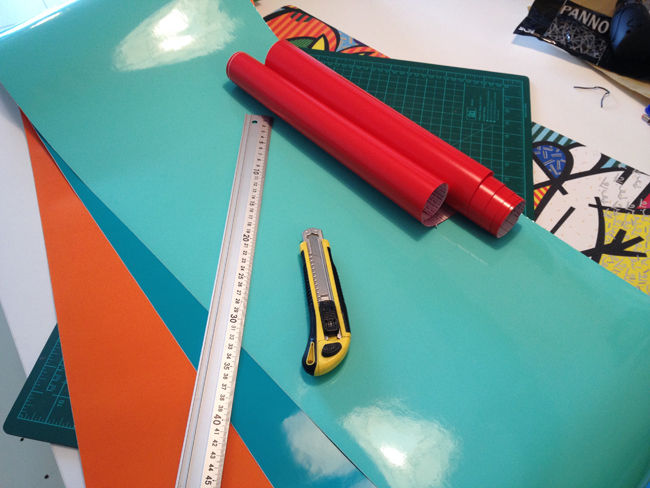
Then I chose four different colors that would fit for a boy as well as a girl, and bought the contact paper to cover the drawers. You can download my Contact Paper Tutorial.
I started with the drawers front.

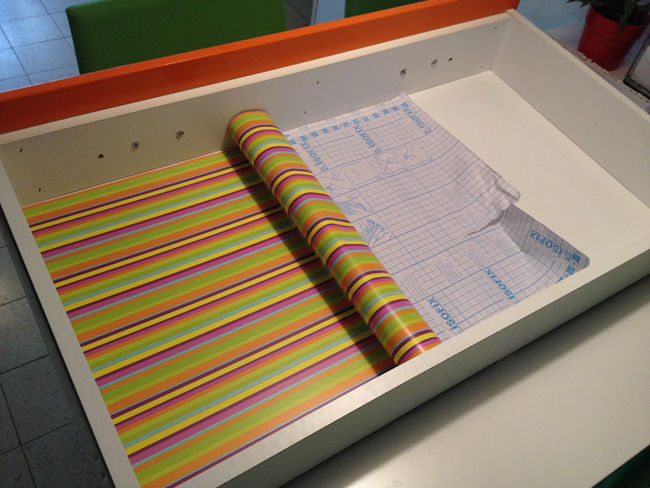
Then, took care of the inside.

And the contents... before...

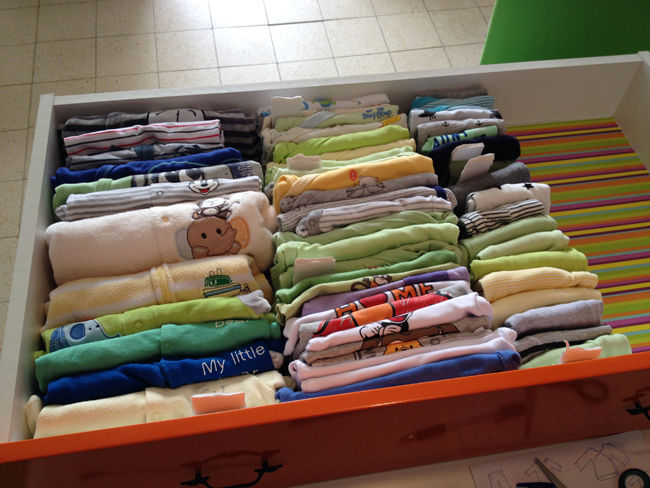
After! :)
And this is the final result!! What do you think?


I'm currently working on a second changing table, that i'm thinking about selling, or giving it away for likes and shares... what should I do? Here is the "before" state:

Thanks for your visit! Feel free to comment, share, subscribe, and even show me your own projects!
Fa

Check out my next nursery project

Comments